TUTORIAL: Softie Ruler to add-on to your Softie Tool Set collection!
Handy tip: Make sure you put the tape measure ribbon on the right way - it is upside down on mine - just to make sure, look at a real ruler while you are doing it!
Step One: Gather your materials
This is to make a finished product approximately 20cm long. You can of course increase the length to whatever length ruler you like!
Step Two: Sew on the tape measure ribbon (the right way!) leaving a 1/4 inch gap to the bottom of the fabric
Step Three: Prepare materials for main construction, fold right sides together, place wadding on top and pin it down one length and one short end.
Step Four: Sew with a 1/4 inch seam allowance down one length and one short side, trim the corners of the sewn short ends being careful not to chop into the stitching.
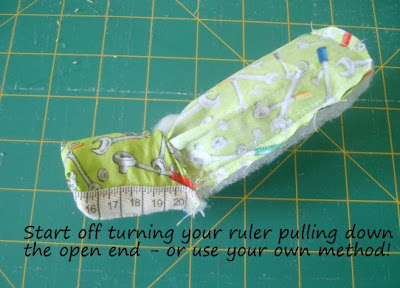
Step Five: Turn right side out, poke the corners out gently
Step Six: Turn under the open end 1/4 inch and pin closed the opening. Handsew closed (or machine close if you prefer). Give your ruler a quick iron, being careful to avoid any satin/polyester ribbons/labels and all finished!
COMING SOON: Another PDF Sewing Pattern to add on some MORE tools (yes more than one!) to your collection! Stay tuned!
Where to buy the Softie Tool Set and Toddler Softie Handsaw PDF Sewing Patterns - http://littlesewandsews.bigcartel.com/category/pdf-sewing-patterns


